The Professional Fabrication Series: Installation Day
11/08/2021
3 min read
3 min read
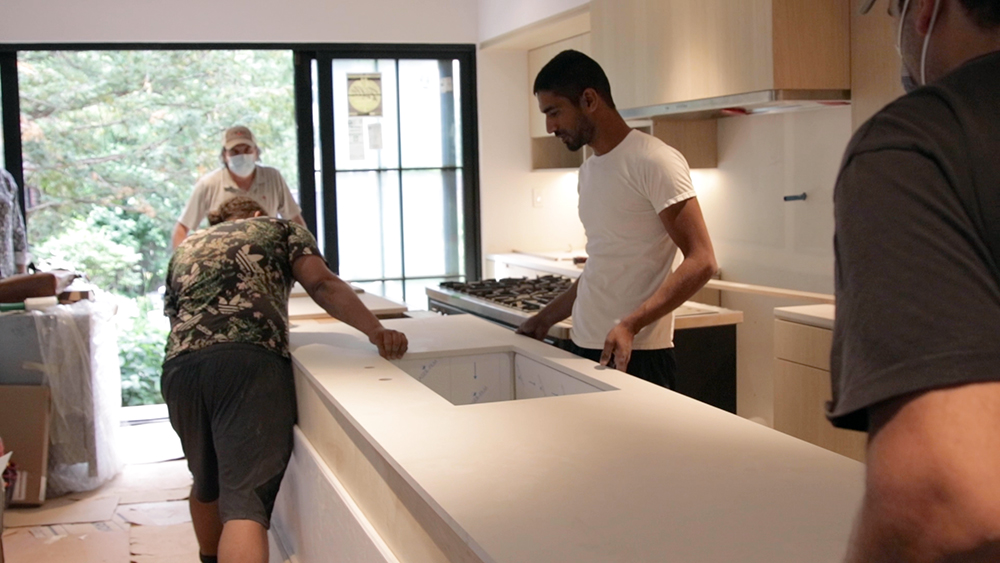
Each slab has been cut to size, finished to client specifications, delivered to the installation site, and it’s time to start the final steps. Though it should go smoothly if an accurate template was made and each piece was cut correctly, there are always at least a few challenges that arise on site. If you missed our previous blogs on templating and cutting, review them here. Read on for more tips on how to have a low-stress Installation Day.
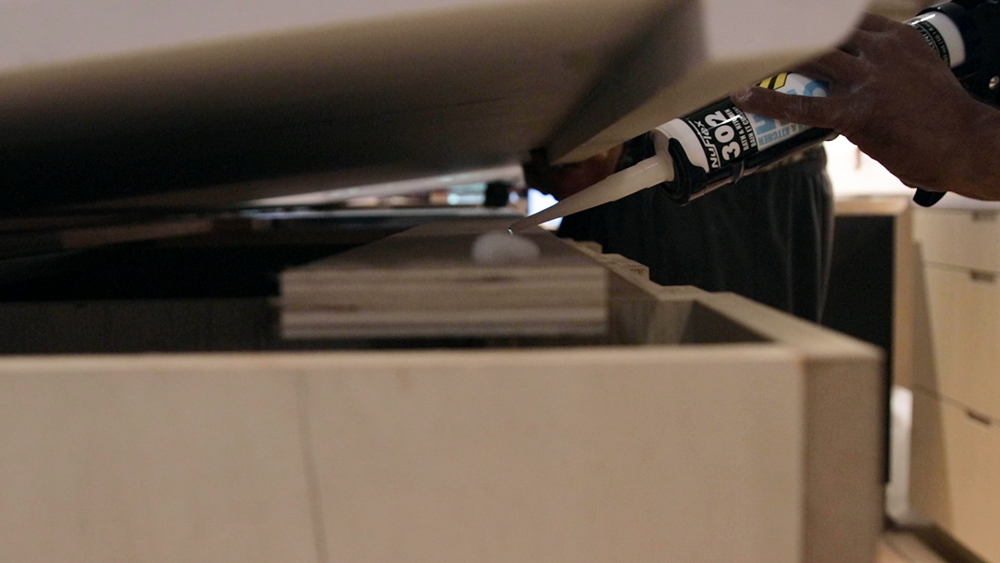
Preparing the area for installation is a crucial part of the process. Before you arrive, have the client clear out any top-level drawers and cupboards. Once they’ve left you with a clean workspace, cut pilot holes in the cabinetry where the sink and faucet will sit. Then install plywood for additional support if necessary and fill any voids with shims to avoid vibration.
Once the quartz slabs arrive, it’s time to test the fit. Though the Project Manager took careful measurements, things may not fit exactly right when it comes time to install everything. Check for gaps or unlevel pieces and resolve the issues accordingly. Fill gaps with colour-matched epoxy and use shims to level the surface. For a piece cut slightly too large, you may be able to cut into the drywall and push the excess stone into the hole until the edge matches the original overhang measurement.
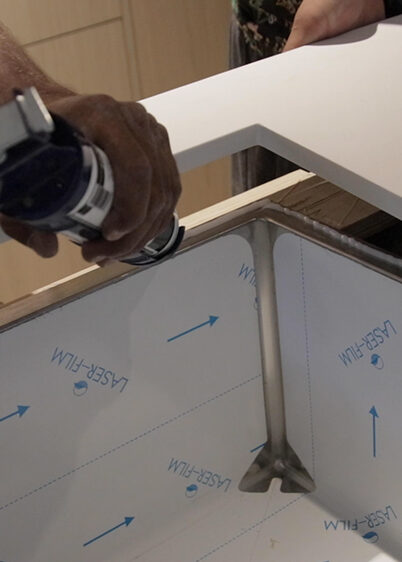
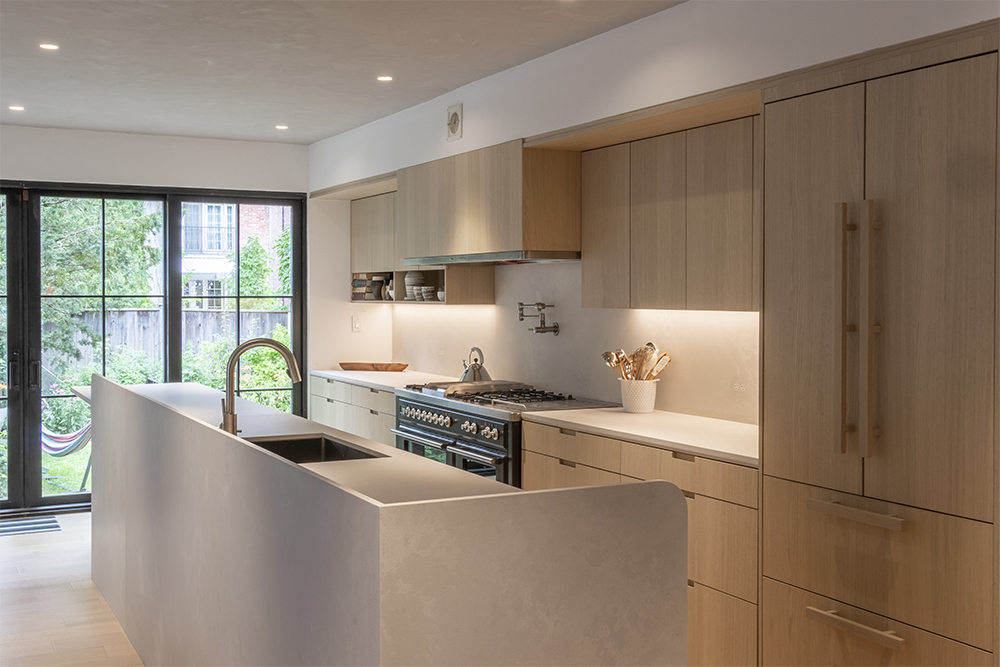
Ideally, a thorough template makes on-site cutting unnecessary. But unexpected issues may come up and things can change at the last minute. With a diamond-tipped wet saw and outdoor space available, adjustments can be made on site. If electrical sockets were not installed before templating, those openings will also need to be cut on-site. A current design trend is plateless electrical sockets. Negating the need for a plastic plate around the outlet, it is a much cleaner look but can be very labour-intensive on installation day. To avoid a large gap around the socket, slowly increase the size of the hole in the quartz backsplash until you have a snug opening for the plug. Though tedious, the result is a very upscale, minimal look.
There are many things to consider on Installation Day but the importance of safety cannot be overstated. Never attempt to lift a slab without the help of another installer, always wear a mask and goggles while cutting quartz, and only cut it outside. Explore our Master of Stone Professional zone for more tips or to complete our training modules. And look out for the final chapter in our Professional Fabrication Series, Health and Safety.
{{ subtitle }}
{{ i.desc }}
{{ subtitle }}
{{ subtitle }}