Quartz Countertop Installation: Step-By-Step Guide
04/30/2021
5 min read
5 min read
As the popularity of quartz rises, more and more people are choosing this versatile, strong, durable and low maintenance countertop material. The unique pigments and eye-catching accents add to the beauty of a home effortlessly with an easy installation process.

Quartz countertop installation guide:
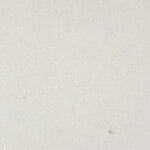
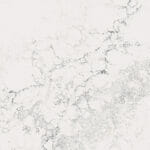
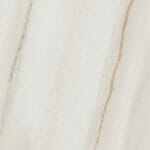
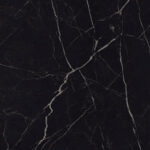
Quartz countertops are available in a variety of colors and patterns. Before installing the countertops, you want to ensure you pick a colour and pattern that matches the aesthetics of your home. With seemingly endless quartz countertop colour options, you’ll have much to consider in your decision process. You must also work through the type of edging, cut-outs and backsplash that you want. It is important to have a clear vision of how your space should look after the quartz countertop installation. Passing on clear instructions and expectations to the fabricator will help eliminate any disappointments.
Before scheduling your quartz countertop installation, ensure you have a ready space. This prevents wasted time and saves you additional installation costs. Most new homeowners often think that cabinets are the only essential component when it comes to quartz countertop installations. For the most efficient quartz countertop installation, ensure that the flooring is finished, the wall paint is dry, and the plumbing and electrical work is complete.
Using a measuring tape, get precise cabinet top measurements. This is the most essential step prior to installation. Overestimating or underestimating your quartz slab’s size can lead to inaccurate cuts and wasted quartz. Remember to carefully measure for the sink opening as well to ensure your quartz slab comes with an accurately sized space for the sink.
When purchasing your quartz slab, ensure to:
Once you receive your quartz slab, fit it on the countertop by placing each slab on the installation area. This process is referred to as dry fitting and ensures that each piece of slab fits perfectly into its space without leaving spaces or gaps. Although dry fitting is a simple procedure, it will require assistance from a friend or contractor since quartz slabs tend to be heavy.

After dry fitting, you may need to make adjustments to fit the space exactly. If you find that the slab needs to be cut or trimmed, mark the regions with a straight edge and pencil, starting with the top and followed with the bottom. Mark the area on all four sides of the slab for the most accurate cut.
Your blade depth should be half the thickness of your quartz slab. To ensure you work with a steady surface, use your left hand to hold the slab as your right hand moves the saw along each pencil mark. Ensure that the diamond blade teeth point in the opposite direction of the quartz slab and repeat on all ends. To prevent the quartz from overheating damage, remove the blade every 30 seconds or use wet diamond cutting tools.
If you had removed your kitchen sink when removing the old countertop material, reinstall it before installing the new quartz countertop. Use tape to protect the top edges of the cabinets. Covering the top of the cabinets is essential as it ensures that the silicone adhesive used does not come in contact with the edges.
Quartz countertops are heavy and weigh 25 pounds per square foot. Although they are fully functional even when placed on top of the cabinets with no support, adding support to weak-looking regions is paramount. Ensure you also install ledgers with screws and an electric drill to provide added support.
You can start with 2-3 inches of adhesive on the cabinet corners and slowly work around the cabinet. To ensure that the quartz is securely held, space each adhesive bead by 6-12 inches. Do not wait for the adhesive to dry to remove the painter’s tape as it will be more difficult.
After applying the adhesive to the cabinet, place each slab over the beads. Ensure you do this before the adhesive dries. Follow by gently pressing the slab to the cabinet. Again, ensure you have a helping hand when placing the heavy quartz slabs on the cabinets.
Even after a dry fitting, you may observe visible joints between the quartz slabs. To seal the joints, use painter’s tape to cover the surrounding surface. Apply an adhesive into the joints and let it dry. Remember to remove the painter’s tape before the adhesive dries.
Here are some extra tips that will come in handy when installing quartz countertops:
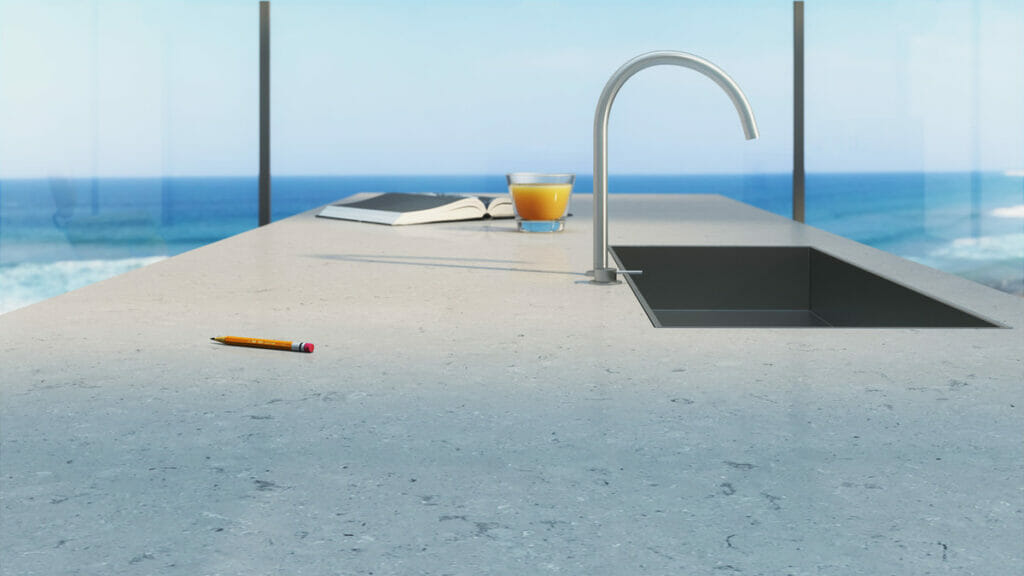
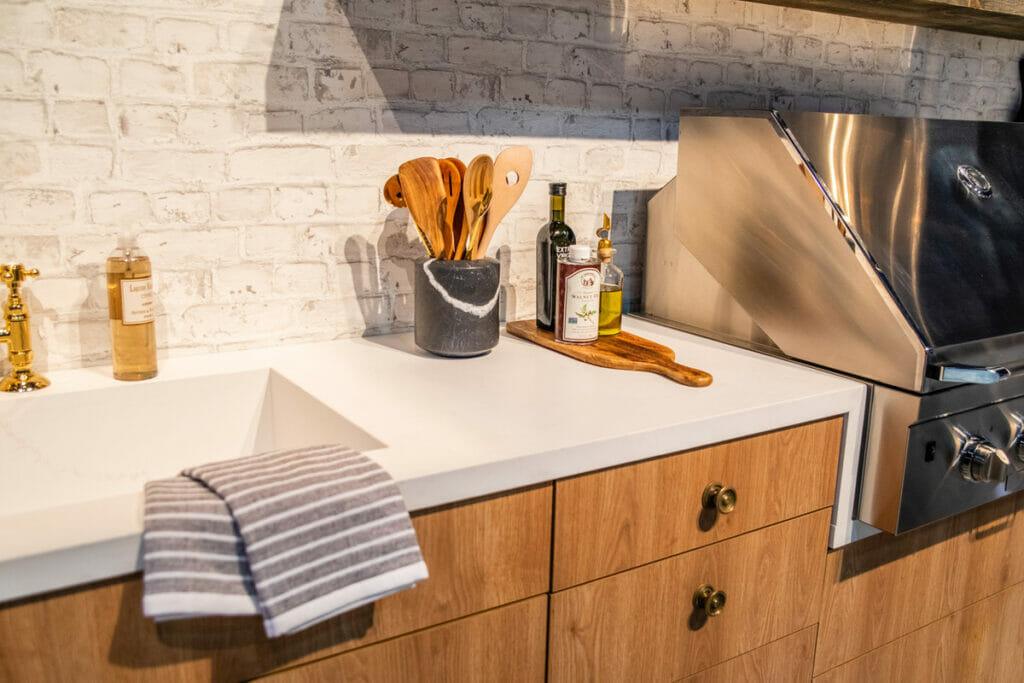
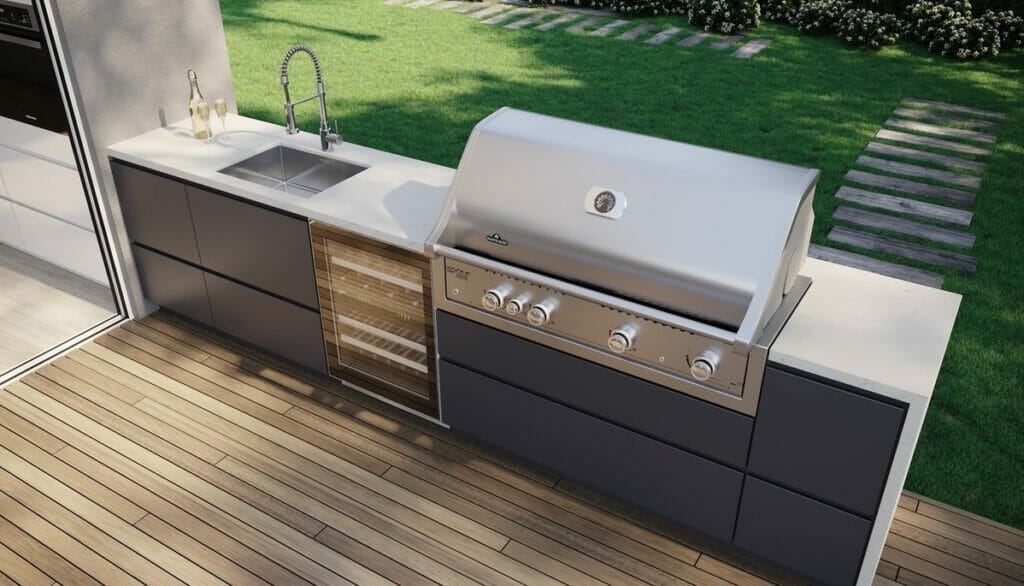
Installing a quartz countertop is a worthwhile project. With the finished product, you are guaranteed a long-lasting, durable surface that adds beauty and function to your space. While this is a simple step-by-step beginner’s guide, ensure you request professional help if you encounter any quartz countertop installation problems or if you do not want to handle the installation yourself. Refresh your space with a beautiful new worksurface.
{{ subtitle }}
{{ i.desc }}
{{ subtitle }}
{{ subtitle }}