The Professional Fabrication Series: Creating a Template
10/05/2021
3 min read
3 min read
No matter the profession, starting a job with carefully considered plans sets the whole project up for success. In quartz countertop templating, taking time to consider the unique challenges of each project and taking precise measurements of the space will save you and your client from wasted hours and wasted materials.
Before You Begin
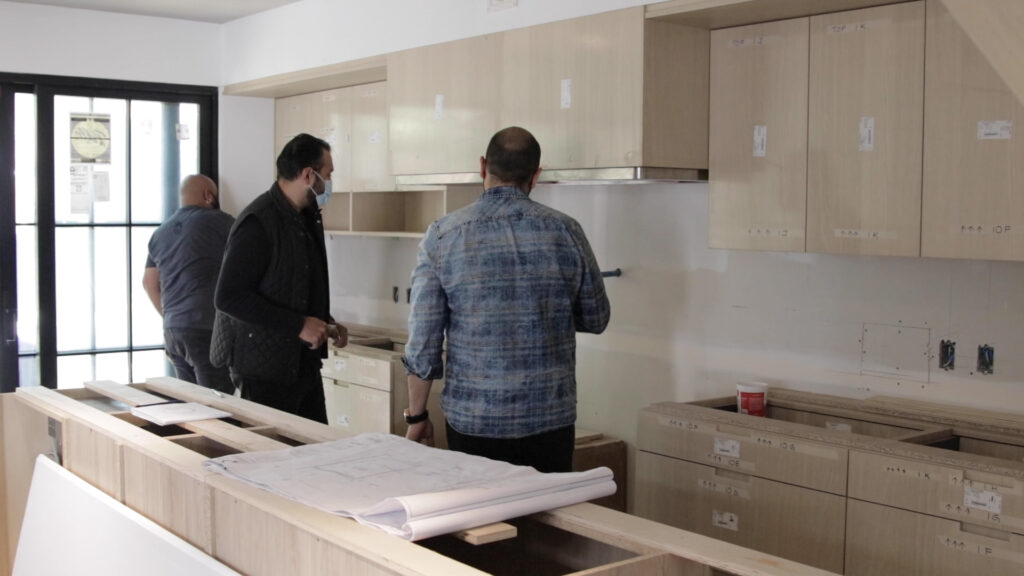
Ensure that your client has the space fully prepared before your work begins. Once they have the existing countertop removed, all cabinetry fully installed and levelled, all appliances onsite, and plumbing and electrical done, it’s time for a home visit. Ensure your client is aware that if everything on this list is not complete, they will have to reschedule and cover the cost of a second visit.
Talk It Through
Communication with the client is crucial to keep everyone on the same page throughout the process. If assisting the client in choosing a material, consider their lifestyle and how they’ll be using the countertop before making an educated suggestion. Taking note of their needs and concerns, inspect the space for any potential difficulties that may arise. In an older house, walls may not be straight, surfaces may be uneven, and a heavy material like quartz may require additional support.
For Good Measure
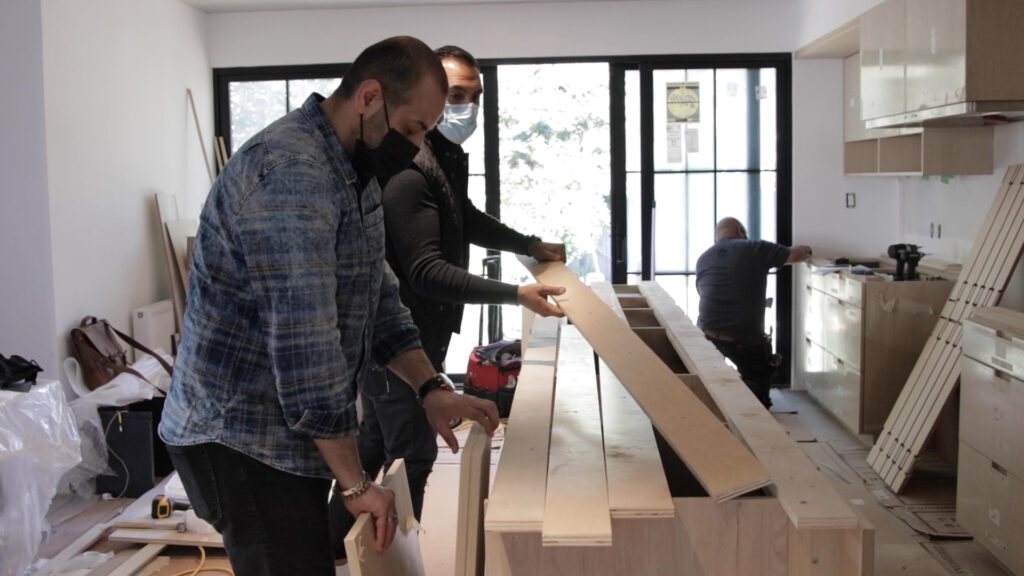
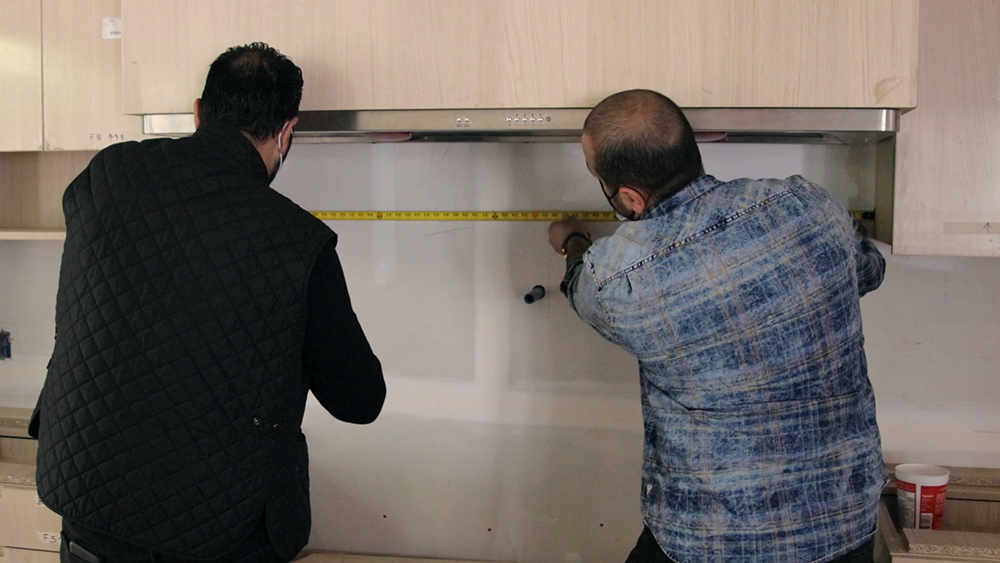
While older homes may be particularly misaligned, you should meticulously measure each space you are templating regardless of its age. Avoid making guesstimates, measure everything twice with the client and have them sign off on final measurements before creating a template. This diligence holds you both accountable to what has been agreed upon and will save the installer from making additional cuts onsite.
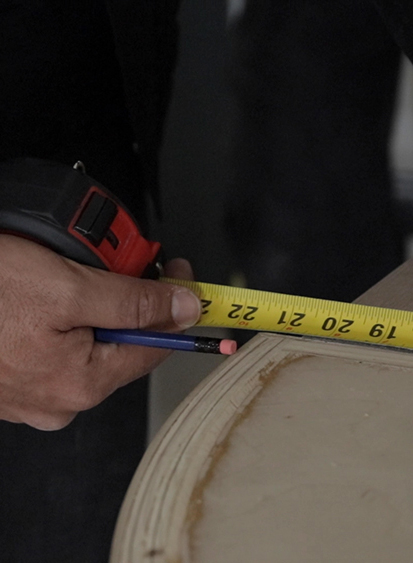
When taking appliance measurements, allow for a ¼” of space on either side of each appliance and measure at both the front and back of the appliance space as it may be narrower at certain points. For a larger kitchen, more than one slab may be required. In this instance, you’ll also have to consider where to place any seams so that they are inconspicuous and properly supported by the cabinetry. To make sure the countertop remains strong, the best way is to place the seam on the supports so the stones are still supported on both sides. Never have the seams placed in the middle with no support whatsoever. Include backsplash dimensions in your measurements as well if they’ve opted to carry the quartz up onto the wall.
For less conventional uses of quartz, such as shower walls, floating shelves, or a fireplace surround and hearth, the templating appointment may look a little different but will follow the same custom measuring process and not be finalized without client approval.
Plan of Action
Using the measurements taken, calculate how many slabs are required for the job, create a detailed template, and provide the client with a quote for their project. If there will be leftover quartz from the slabs being purchased, now is a good time to suggest unexpected ways to make use of the spare material. Recommend side tables, coasters, or serving platters and have them sign off on measurements and cost for these additional items. Once agreed upon, cutting can begin.
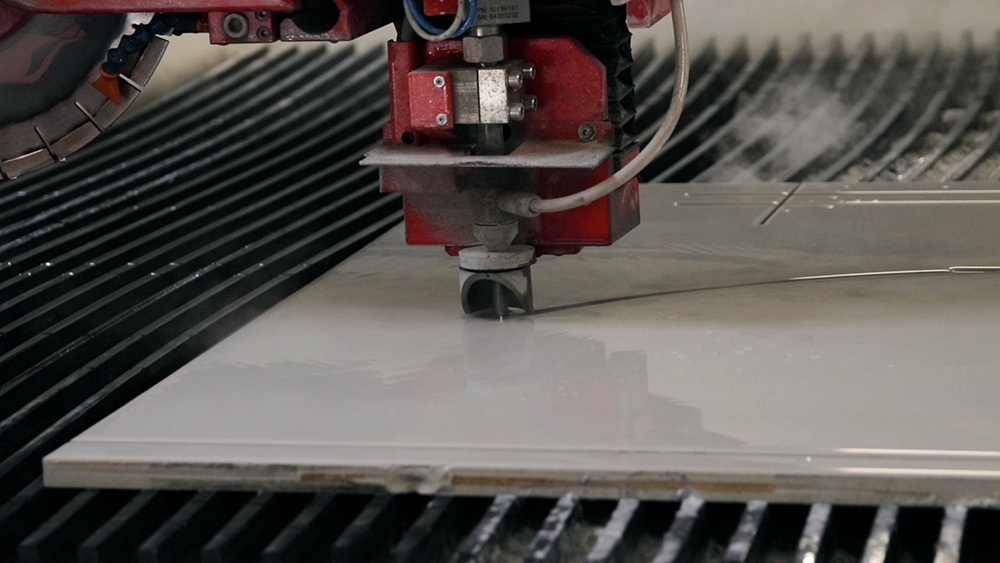
This concludes the first chapter in our fabrication series. Stay tuned to our next chapter, Cutting Day.
{{ subtitle }}
{{ i.desc }}
{{ subtitle }}
{{ subtitle }}
{{ i.code }} {{ i.title }} {{i.custom_badge}} New {{i.low_silica_badge}} Limited Stock